- English
- Español
- Português
- русский
- Français
- 日本語
- Deutsch
- tiếng Việt
- Italiano
- Nederlands
- ภาษาไทย
- Polski
- 한국어
- Svenska
- magyar
- Malay
- বাংলা ভাষার
- Dansk
- Suomi
- हिन्दी
- Pilipino
- Türkçe
- Gaeilge
- العربية
- Indonesia
- Norsk
- تمل
- český
- ελληνικά
- український
- Javanese
- فارسی
- தமிழ்
- తెలుగు
- नेपाली
- Burmese
- български
- ລາວ
- Latine
- Қазақша
- Euskal
- Azərbaycan
- Slovenský jazyk
- Македонски
- Lietuvos
- Eesti Keel
- Română
- Slovenski
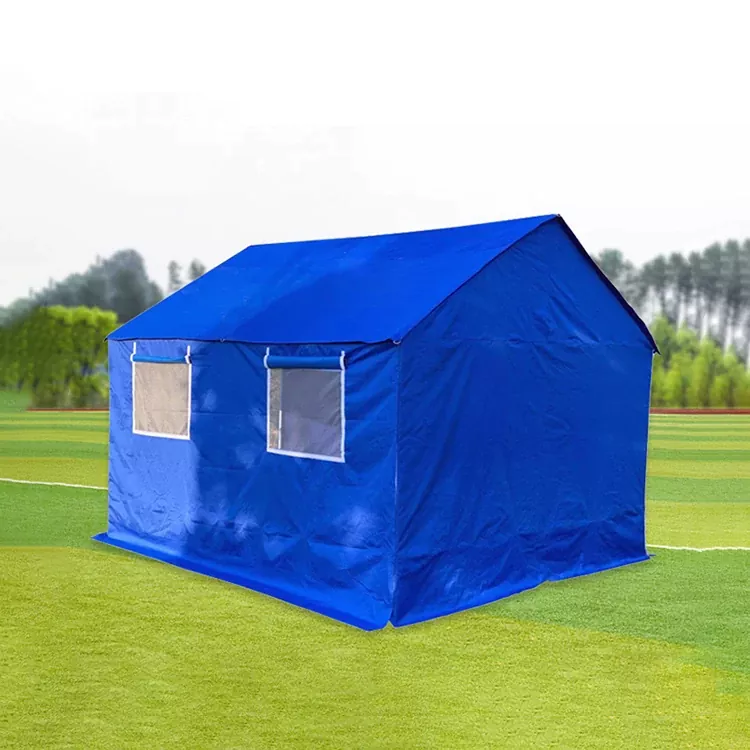
How to Build a Disaster Relief Tent
2024-05-14
1. Choose a safe location: The first priority is to find a flat and stable place that is free from debris, standing water, or other potential hazards. Also, make sure the location is easily accessible and away from anything that could pose a risk.
2. Prepare the tent: Take out the disaster relief tent from the package and lay it flat on the selected ground. Clear the packaging of irrelevant items and verify that all required materials are complete.
3. Build the frame: Start assembling the frame of the disaster relief tent according to the guidelines provided by the manufacturer. Starting at the top, work your way up to connecting poles and joints until you have a complete tent frame.
4. Install the tent fabric: Once the frame is built, the next step is to install the disaster relief tent fabric to the frame. This may involve sliding the tent fabric over the frame or using special clips to secure it to the frame.
5. Stabilize the tent: Use stakes or guy wires to secure the tent firmly to the ground to prevent it from being blown or displaced by the wind. Make sure your disaster relief tent is firmly rooted to the ground to handle all weather conditions.
6. Enhance wind resistance: Choose an appropriate location to insert the ground nails, and tie the two ends of the windproof rope to the triangular pull ring and ground nails of the tent respectively. Make sure the wind ropes are tight to increase the wind resistance of the disaster relief tent.
Keep in mind that setting up disaster relief tents requires the cooperation of multiple people to ensure safety and efficiency. Be sure to correctly assemble the brackets and fabric according to the steps in the instructions to avoid any damage to the tent or personal injury caused by incorrect installation.


